TIPS FOR CUTTING YOUR KIDS HAIR AT HOME
/
Cutting your kids’ hair at home can be a real lifesaver when it comes to time and money… but it can also be a little tricky. If you have a child that will sit relatively still for you, it may be worth a shot!? Just give yourself permission to know that there is a learning curve, and it won’t be perfect the first couple times. It will probably also be a slower process at first- so get the bribery candy ready and maybe pull out the ipad for a little distraction.
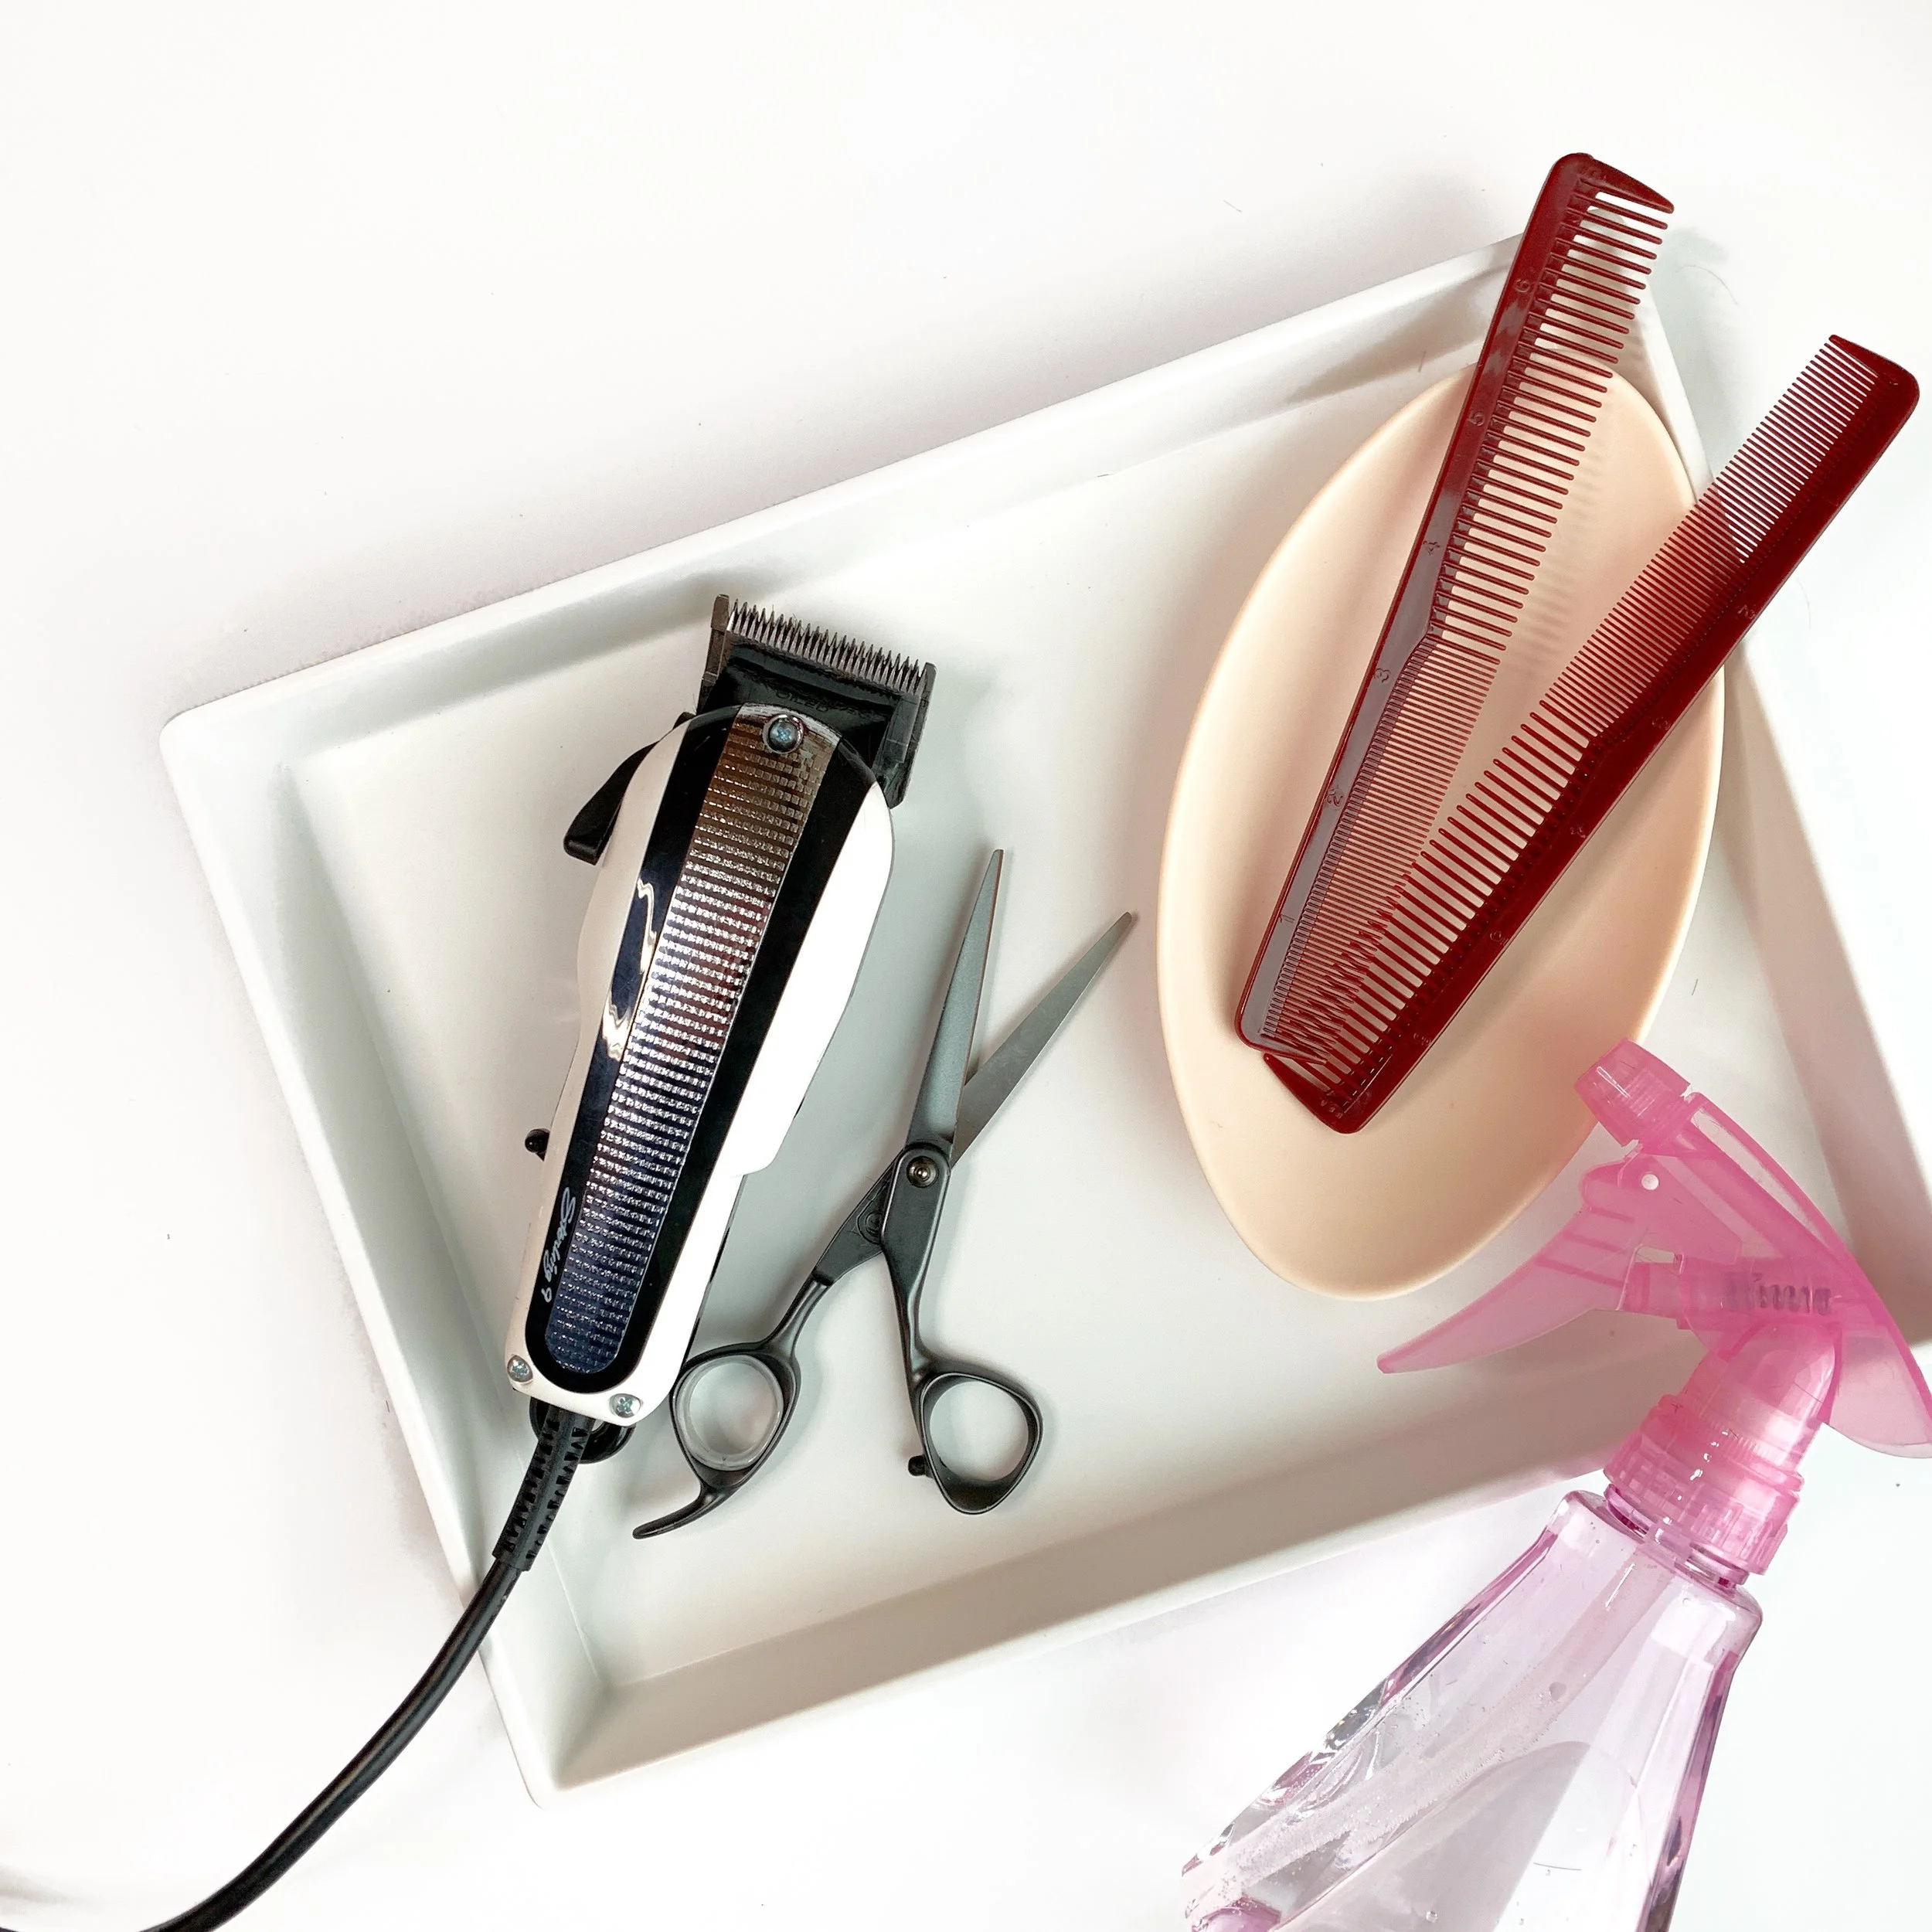
Buy Guide for at-home haircuts:
Shears A nice set of hair shears don’t need to cost more than $50, and they will last a long time if you avoid cutting anything other than hair with them. Be sure you are aware that shears come in Right and Left handed options, and keep them under 5.75 inches for safety.
Clippers The Wahl brand is a staple and is really straight forward to use. A good set of clippers will last you YEARS and you can even replace the blades to keep them running smoothly after time. Look for a set with at least 8 guards to give you lots of options.
Trimmers Trimmer work great to clean up around the hairline and ears, they also work with for small boys under 3 who just have smaller heads, so the full size clipper may be too large.
Cutting Cape A cape works for better than a towel because you won’t have a big bulky area around the neck to combat, plus hair will easily brush off a cape making cleanup much easier.
Parting Clips Make your life easier and work in smaller sections- it’s less overwhelming!
Combs A good comb is easy to use and isn’t so large that you fumble it around- these combs have been my go-to at the salon for years!
Spray Bottle Nice to have on hand, just remember clippers should always be used on dry hair
Tips for at home haircuts: [VIDEO HERE]

1- Start with clean DRY hair- this is to avoid surprises. You’ll know the exact length your cutting to, and you can see your lines more clearly.
2- Section the hair into smaller workable areas- The whole head is overwhelming. Part the hair into smaller sections working from the nape up, then move around to the sides, top, and front.
3- Always start your first cut in the center to create a guide and match both sides to the guide. This will stop you from ending up lopsided. Less is more, start conservatively, you can always make it shorter but you can’t make it longer!
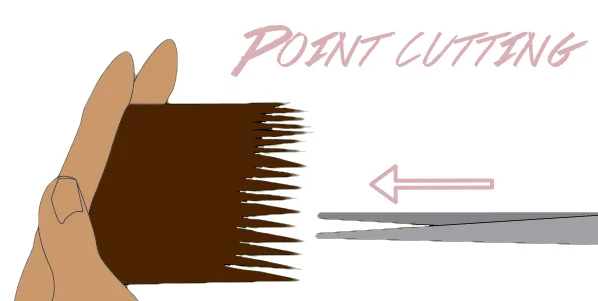
4- Blend by blurring harsh lines with 'point cuts' Carefully snip across harsh lines by turning the scissors parallel to the hair and snipping into the hair about 1/2 inch creating small V cuts. This will blur harsh lines and soften the overall cut.
I encourage you all to at least give it a try. Give yourself plenty of time and low expectations! ha! Remember that even bad haircuts are only really bad for about two weeks, and by 6 weeks things are back to starting. Good luck!